A festive Halloween cookie that’s equal parts cute and delicious
Spooky Ghost Brown Butter Pumpkin Cookies bring soft, chewy texture and warm fall spices together in one adorable Halloween treat. Each cookie hides a rich brown butter and maple-pumpkin base, then gets topped with shiny white chocolate ghosts and candy eyes. They look impressive but are surprisingly easy, requiring no fancy tools. Even beginners can nail these festive cookies, making them perfect for parties, gifting, or a fun family bake night. The cookie base is adapted from a trusted chewy pumpkin recipe, so you can count on flavor, consistency, and a bit of spooky charm in every bite.
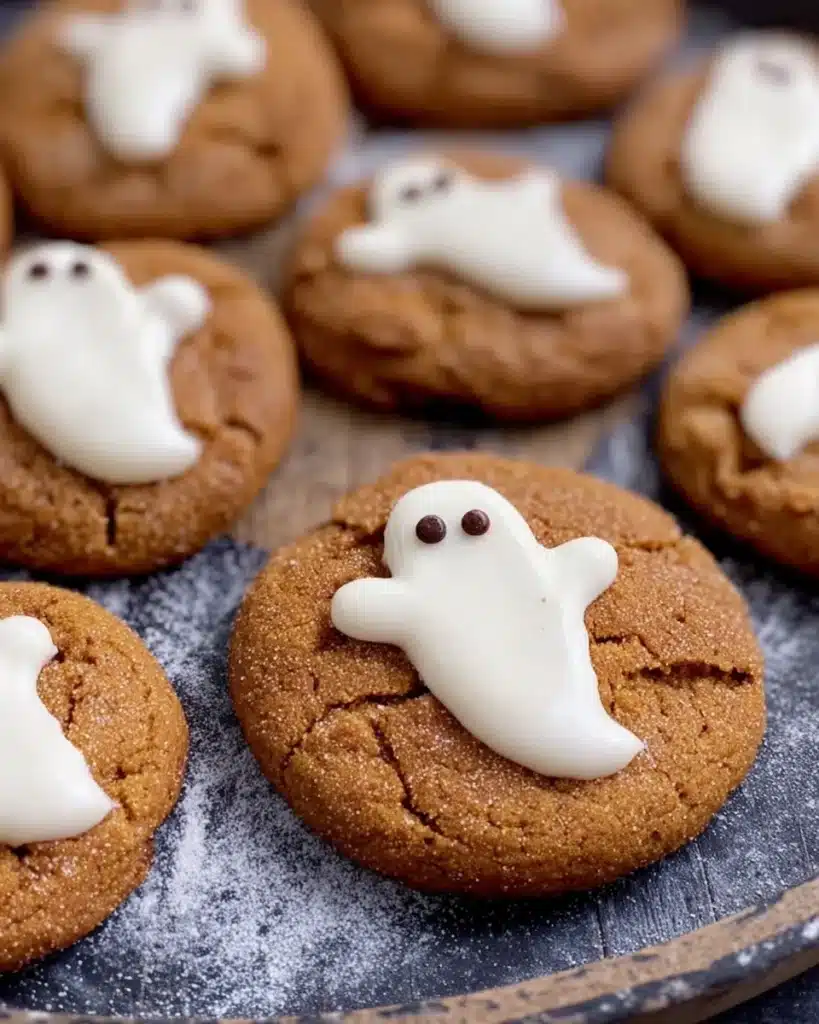
Table of Contents
Why You’ll Love These Ghost Pumpkin Cookies
The flavor, the texture, and the fun factor
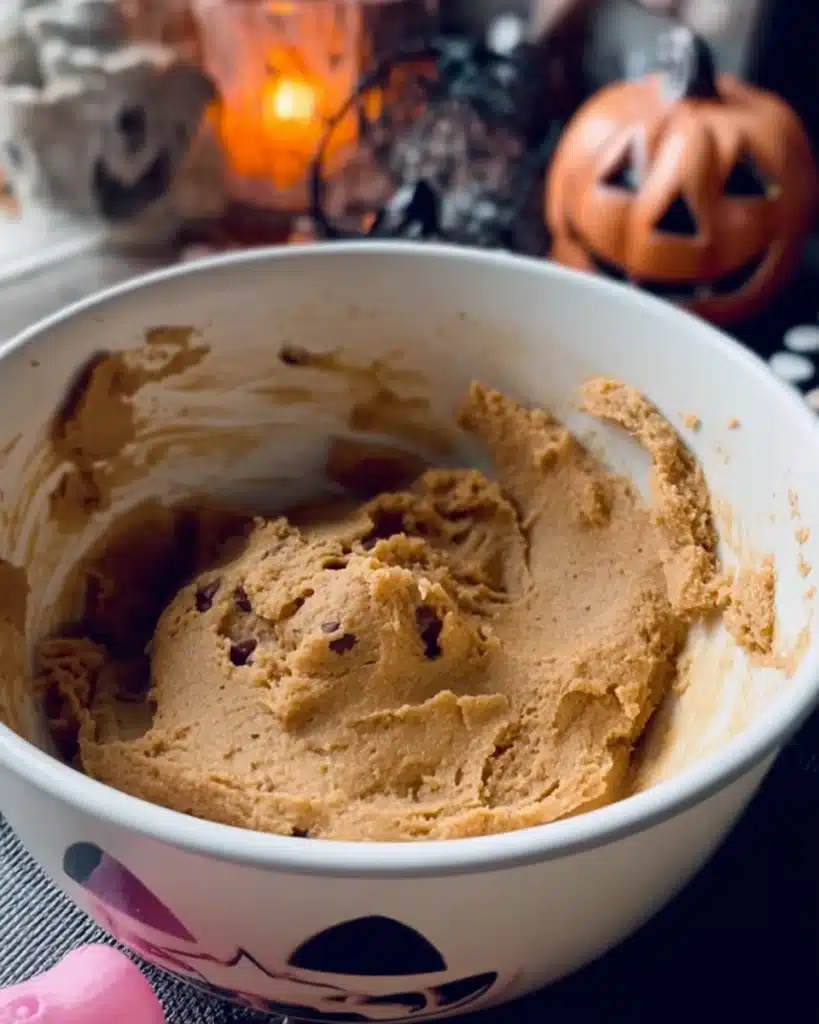
These Spooky Ghost Brown Butter Pumpkin Cookies pack cozy fall flavor from pumpkin, maple, and cinnamon, while brown butter adds a nutty depth. The texture stays soft and chewy, with just the right tender center. What makes them extra fun is the simple ghost design—white chocolate ghosts with candy melt eyes that kids love helping create. You don’t need to chill the dough, which keeps the recipe quick and weeknight-friendly. Between the taste and the playful look, these cookies guarantee smiles at any Halloween party.
Ingredients You’ll Need
Cookie base and spooky toppers
To make Spooky Ghost Brown Butter Pumpkin Cookies, start with one batch of Brown Butter and Maple Chewy Pumpkin Cookies. For decorations, grab white chocolate (Ghirardelli melting wafers recommended for shine), black candy melts, and a piping bag or ziplock. The white chocolate gives each cookie its ghostly shape, while the black melts add the eyes and mouth that bring these little spirits to life. Together, the simple ingredients create cookies that are festive, flavorful, and picture-worthy.
Tips for Perfect Pumpkin Cookies
Bake like a pro with these simple tricks
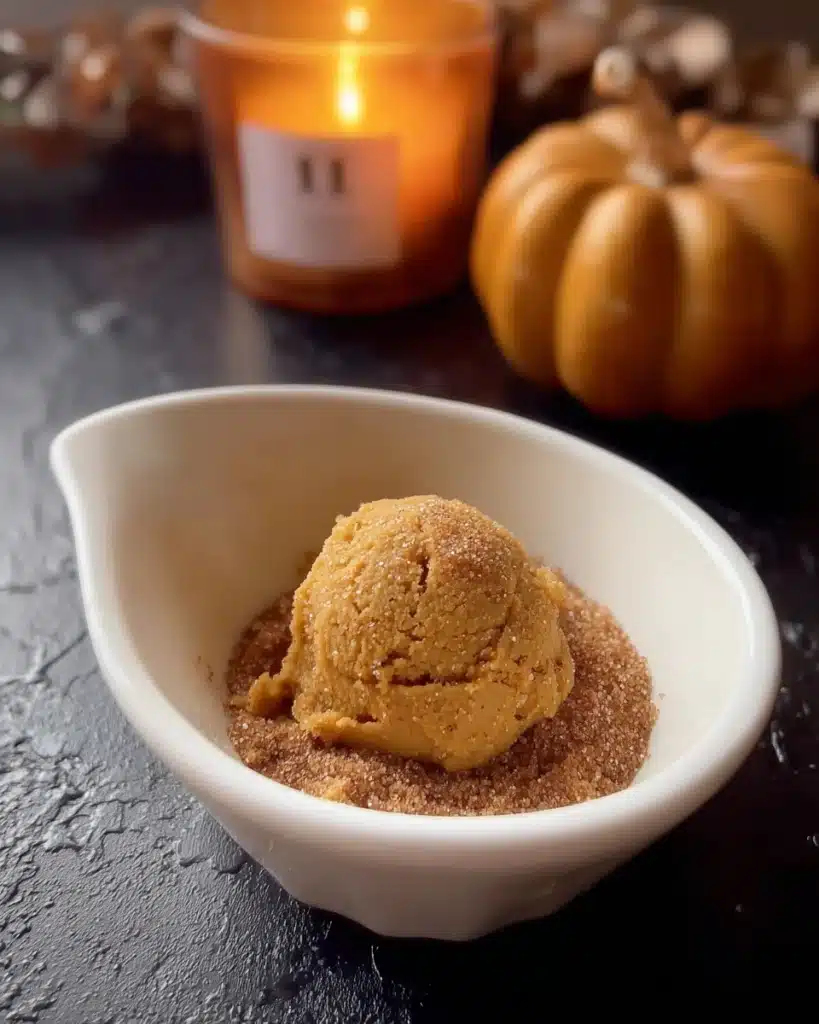
For the richest taste, always use pure maple syrup instead of imitation. To keep the centers chewy, avoid overbaking—the cookies should look just set when removed from the oven. A light-colored sheet pan helps prevent overly dark bottoms and ensures even baking. The best part is that the dough for Spooky Ghost Brown Butter Pumpkin Cookies doesn’t require chilling, saving you time while still delivering bakery-quality cookies. These tricks guarantee soft, flavorful results that pair perfectly with your Halloween decorations.
How to Make the Spooky Ghost Cookies
Step-by-step decorating instructions
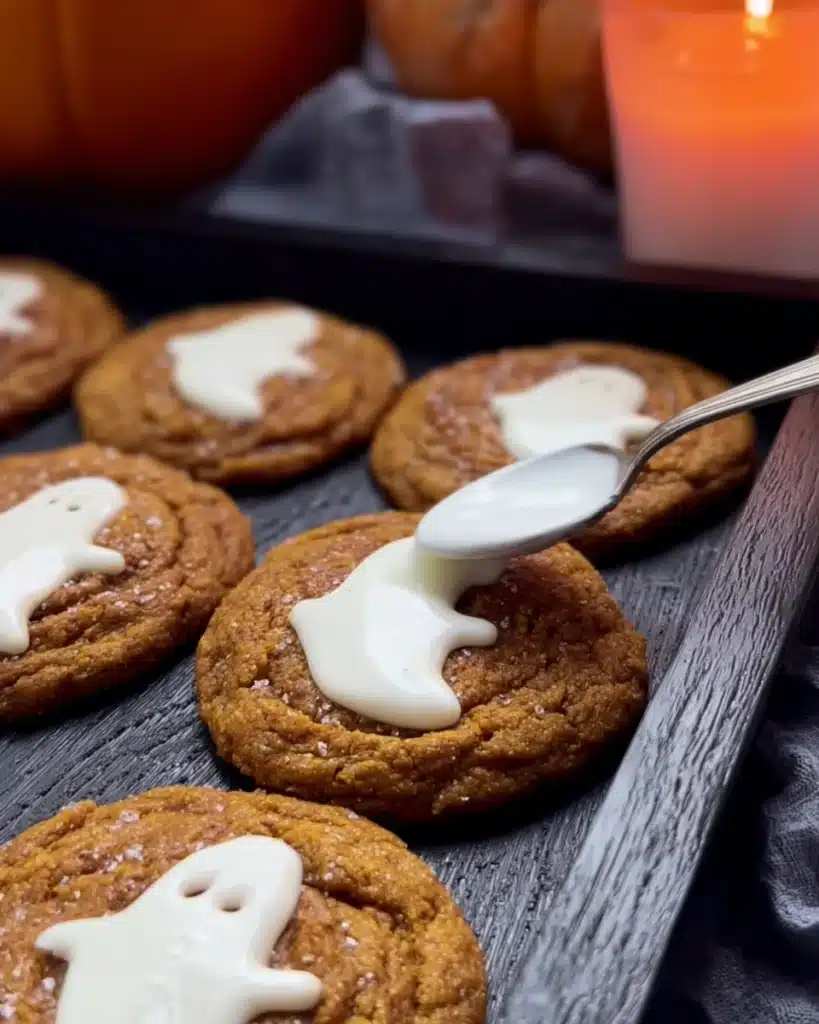
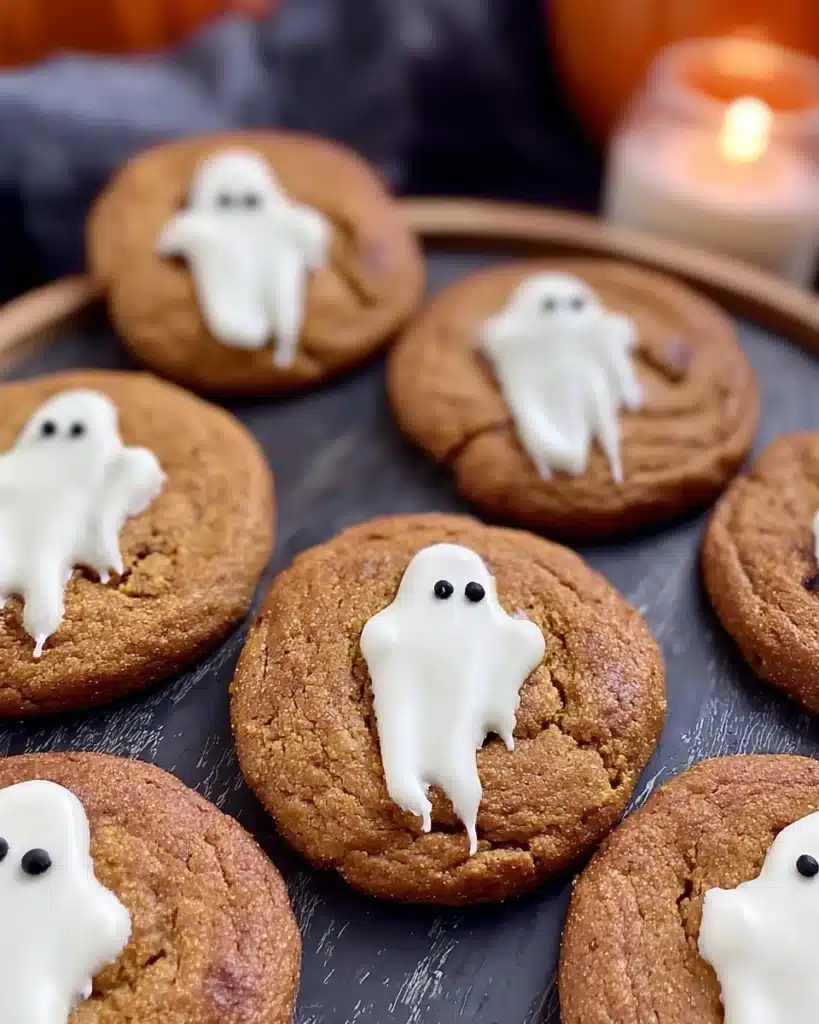
Step 1 – Bake the pumpkin cookies and let them cool completely before decorating. Warm cookies will cause chocolate to slide.
Step 2 – Melt white chocolate until smooth, then spoon a small amount onto each cookie.
Step 3 – Using the back of your spoon, gently drag the chocolate downward to form a ghost shape. A light touch keeps crumbs from mixing in.
Step 4 – Let the chocolate set fully at room temperature.
Step 5 – Melt black candy melts, transfer to a piping bag or ziplock, and snip a tiny opening.
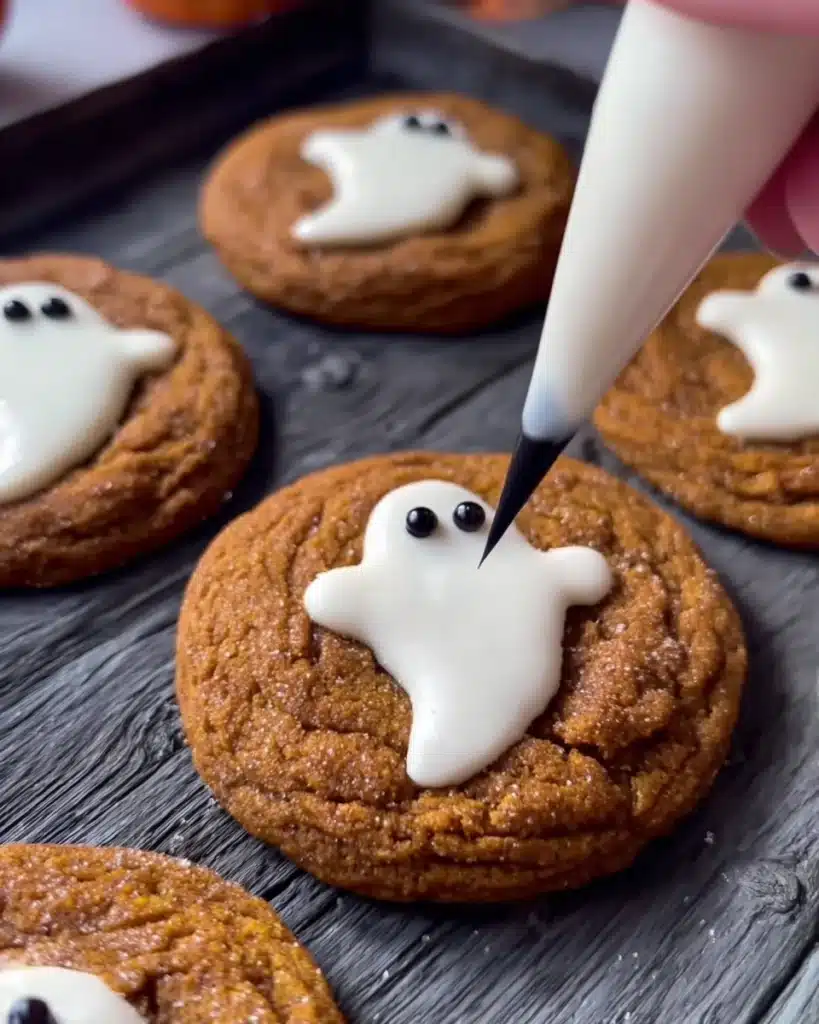
Step 6 – Pipe small dots for eyes and a mouth to bring your spooky ghosts to life.
Step 7 – Allow everything to harden completely before serving or packing.
Tip: Practice shaping ghosts on parchment paper first so you feel confident. Set decorated Spooky Ghost Brown Butter Pumpkin Cookies in a cool spot or fridge if you need them to firm up faster.
Decorating Notes & Troubleshooting
Avoid messy ghosts with these handy tips
If your ghosts look streaky, you may have pressed too firmly while spreading—use a gentler hand. Practicing shapes on parchment helps smooth out your technique. Always let cookies cool completely before adding chocolate, otherwise it may melt off. If your kitchen is warm, place the tray in a cooler room or fridge so decorations set quickly and neatly. These small tweaks make a big difference for sharp, clean designs.
Related Recipes to Try
- Mummy Brownies for a spooky Halloween treat
- Soft and Chewy Pumpkin Cookies Recipe
- Pumpkin Cupcakes with Cinnamon Cream Cheese Frosting
- Frankenstein Halloween Rice Krispie Treats
- White Chocolate Halloween Oreo Bark
- Spooky Eyeball Fudge Brownies
Conclusion
Sweet, spooky, and seriously good
Spooky Ghost Brown Butter Pumpkin Cookies recipe is the kind of treat that disappears fast at Halloween parties. They’re soft, chewy, full of warm pumpkin spice, and dressed up in adorable ghostly outfits. They’re easy enough for beginners, fun enough for kids to join, and delicious enough to become a seasonal favorite. Try them this fall and share your own ghostly cookie creations—you might even inspire friends to bake their own hauntingly cute desserts. For more holiday inspiration, you can always check out ideas on Pinterest.
FAQs
How long do pumpkin cookies last?
They stay fresh for 3–4 days in an airtight container at room temperature. You can refrigerate to extend freshness for up to a week.
Why are my pumpkin cookies sticky after baking?
Pumpkin adds extra moisture. Let cookies cool fully and store them in a single layer to reduce stickiness.
How long do pumpkin cookies last?
It’s a white-skinned pumpkin variety, often used for decorating. It’s not related to these ghost-shaped cookies, but the name adds to the spooky fun.
How to get the ghost cookie?
Simply spoon melted white chocolate on top of the cooled cookie, drag gently into a ghost shape, and add candy melt eyes and a mouth.
Spooky Ghost Brown Butter Pumpkin Cookies
- Total Time: 27 mins
- Yield: 16 cookies 1x
Description
Soft, chewy pumpkin cookies topped with white chocolate ghosts and spooky candy melt faces. Perfect for Halloween parties or fall gatherings.
Ingredients
1 batch Brown Butter and Maple Chewy Pumpkin Cookies
White chocolate (Ghirardelli melting wafers recommended)
Black candy melts
Piping bag or ziplock
Instructions
1. Bake the pumpkin cookies and let them cool completely.
2. Melt white chocolate and spoon a small amount onto each cookie.
3. Use the back of a spoon to drag the chocolate downward to form a ghost shape.
4. Let the chocolate set until firm.
5. Melt black candy melts and transfer to a piping bag with a small opening.
6. Pipe dots for eyes and a mouth on each ghost.
7. Allow decorations to harden before serving.
Notes
Use a light hand when spreading white chocolate to prevent picking up cookie crumbs.
Practice ghost shapes on parchment before decorating.
Let cookies cool fully before adding chocolate to avoid sliding.
- Prep Time: 15 mins
- Cook Time: 12 mins
- Category: Dessert, Halloween Recipes
- Method: Baking
- Cuisine: American
Nutrition
- Serving Size: 1 cookie