Craving a cookie that’s as pretty as it is delicious? These Stained Glass Cookies sparkle with melted candy centers that catch the light like tiny ornaments. They’re crisp, buttery, and perfect for hanging on your tree or gifting to friends. Plus, they’re simple enough for kids to help with—making them a joyful Christmas baking tradition.
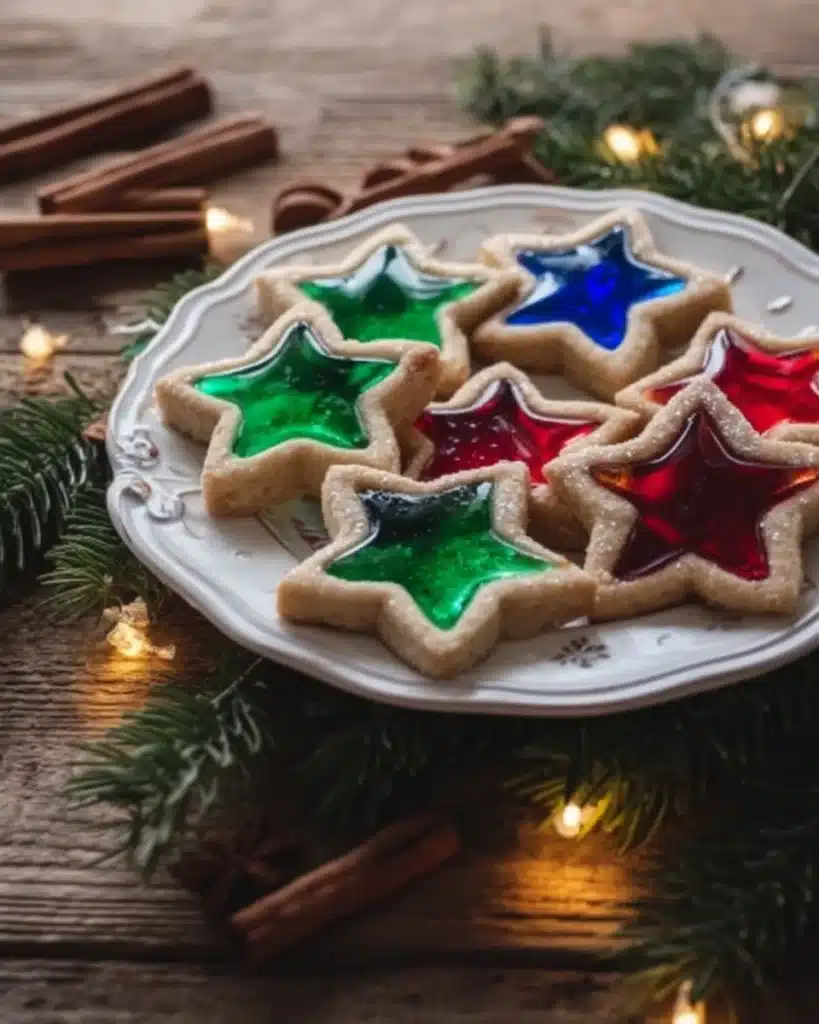
Table of Contents
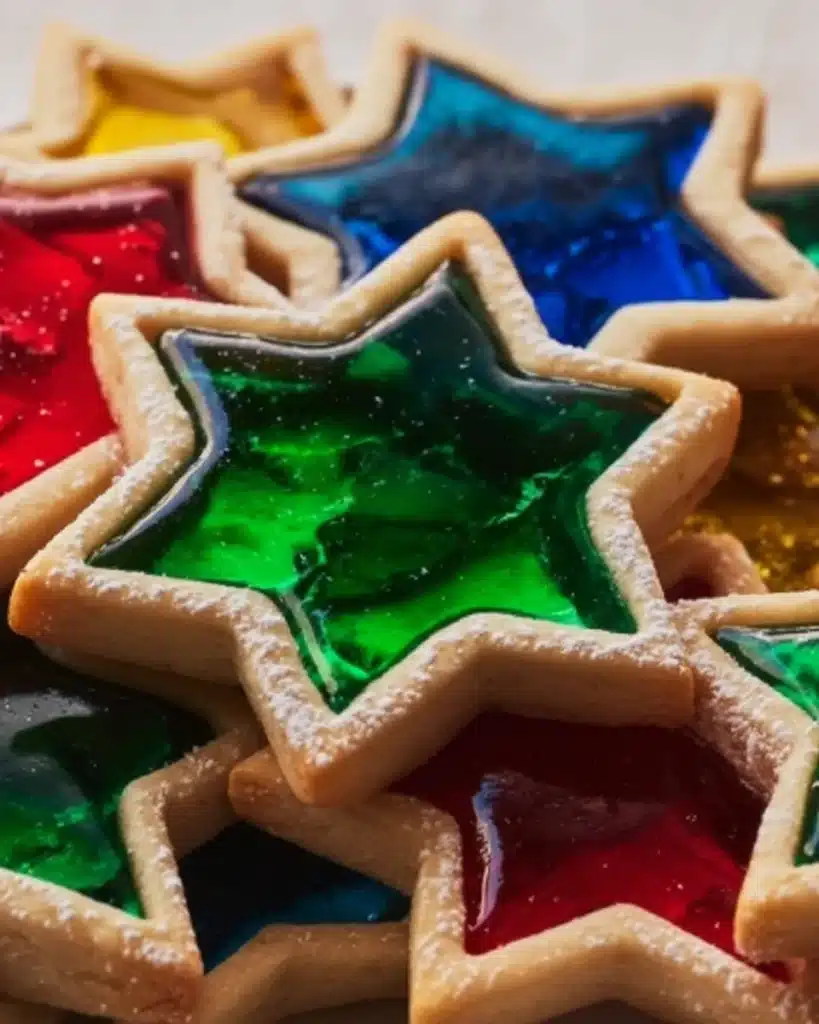
Why You’ll Love This Recipe
You’ll love making stained glass cookies because they turn basic sugar dough into something magical. The dough is soft and easy to roll, while the colorful candy centers melt into gorgeous, glass-like windows.
Kids can help crush candies or cut out fun holiday shapes, so it becomes a hands-on family project. The cookies look stunning on dessert platters and make wonderful edible gifts.
Whether you choose stars, trees, or hearts, each one shines with festive cheer. Best of all, they’re as tasty as they are beautiful—light, buttery, and sweet with a chewy candy center that everyone adores.
Ingredients You’ll Need
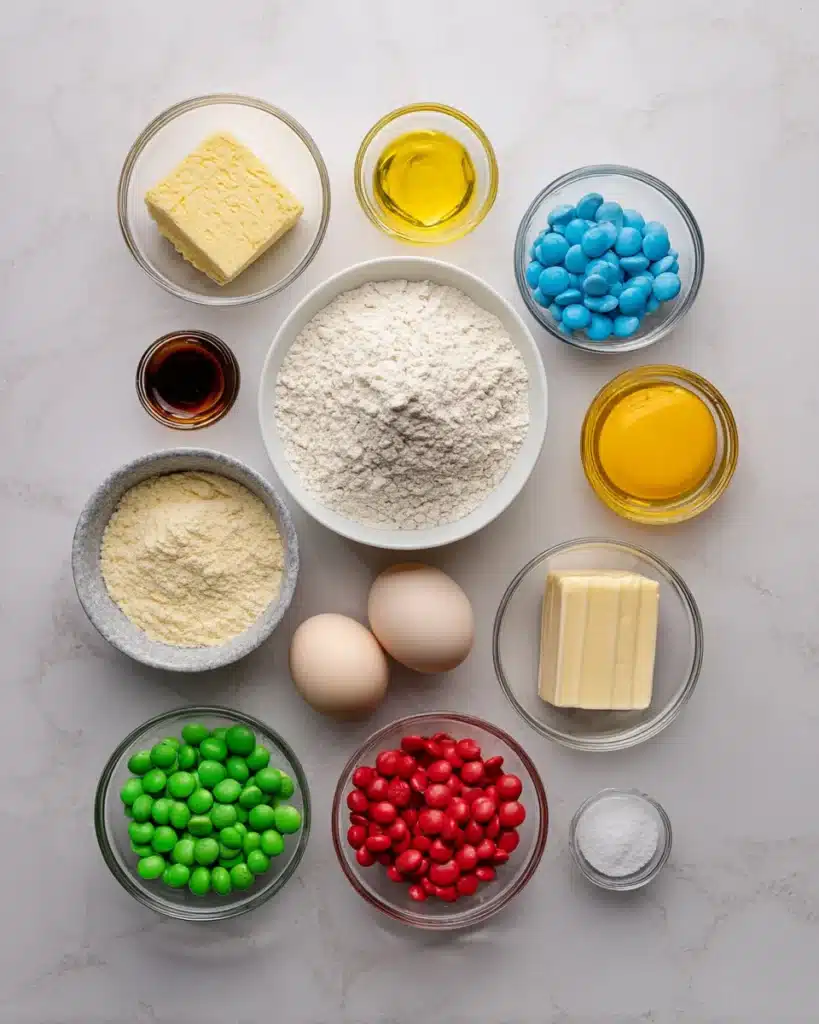
Start with all-purpose flour, which gives the cookies a soft texture. Add baking powder to help them rise, and salt to balance the sweetness.
The butter and sugar form the base of the dough, providing that classic, rich flavor. Egg binds everything together. You can use vanilla extract for a traditional taste, or swap it for almond extract for a twist.
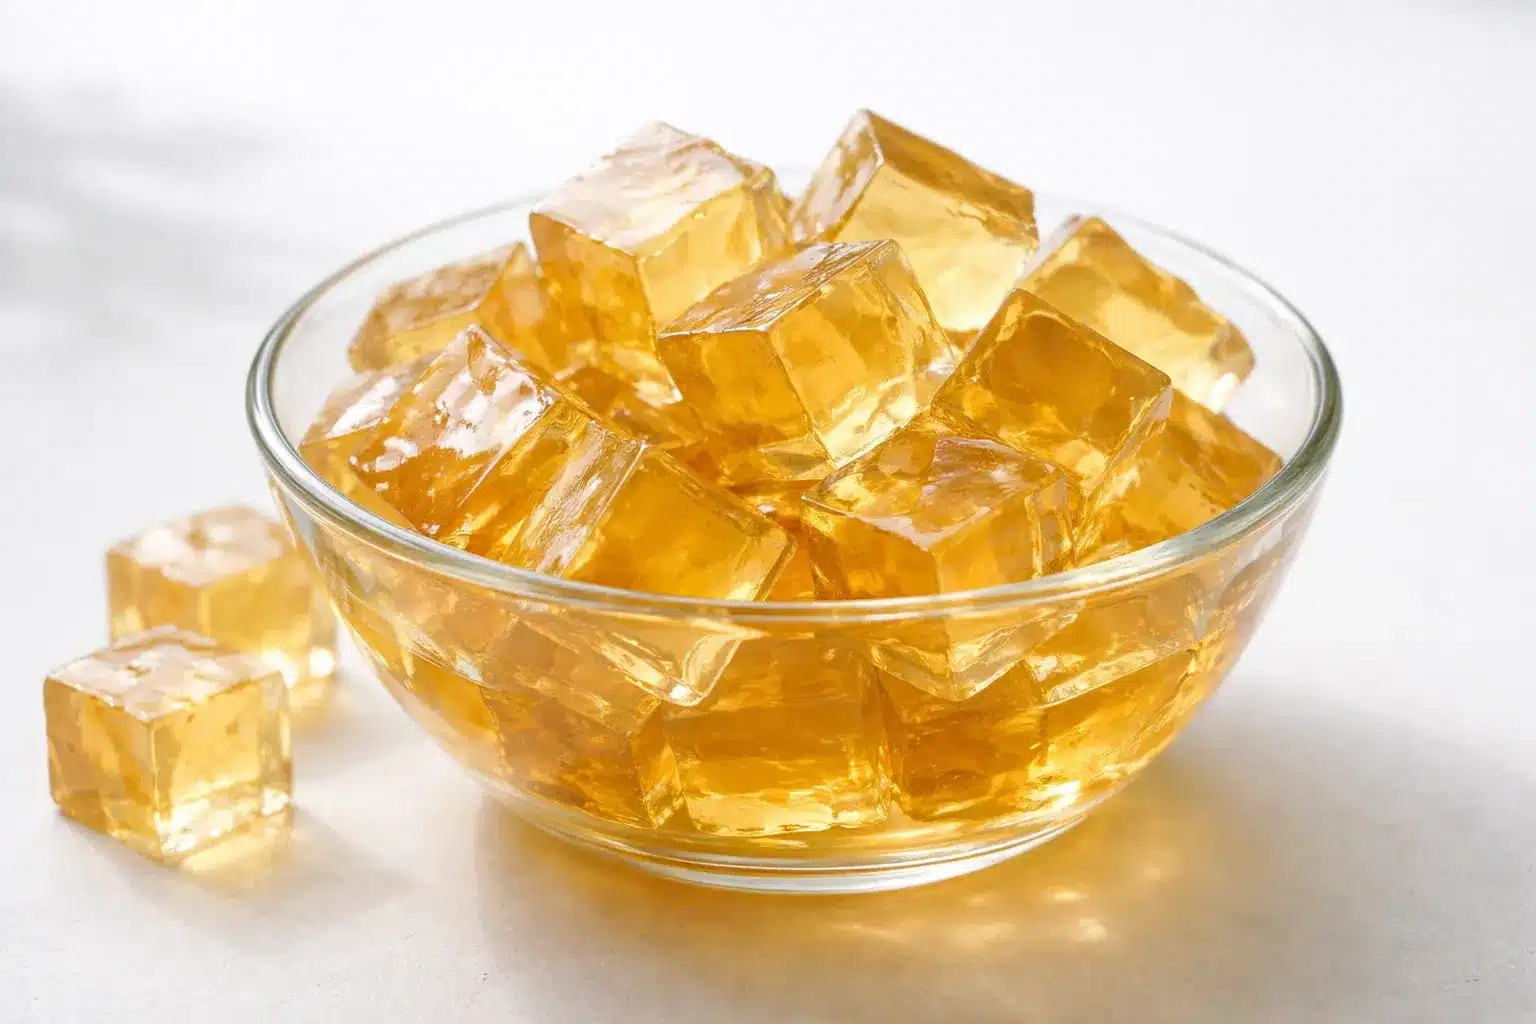
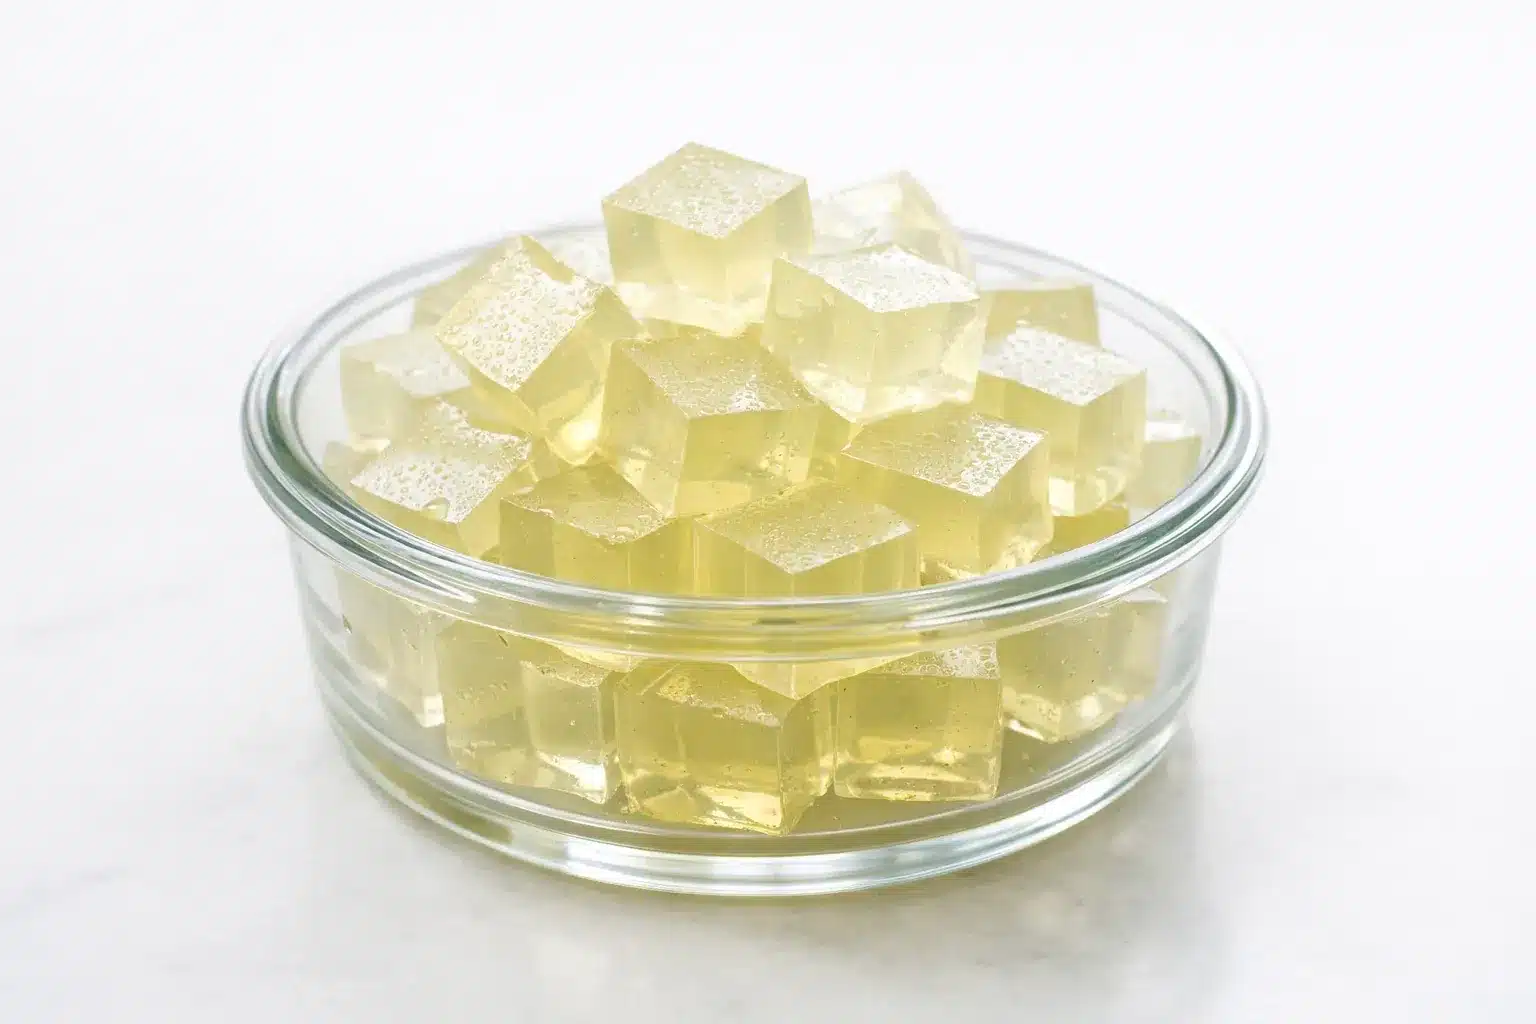
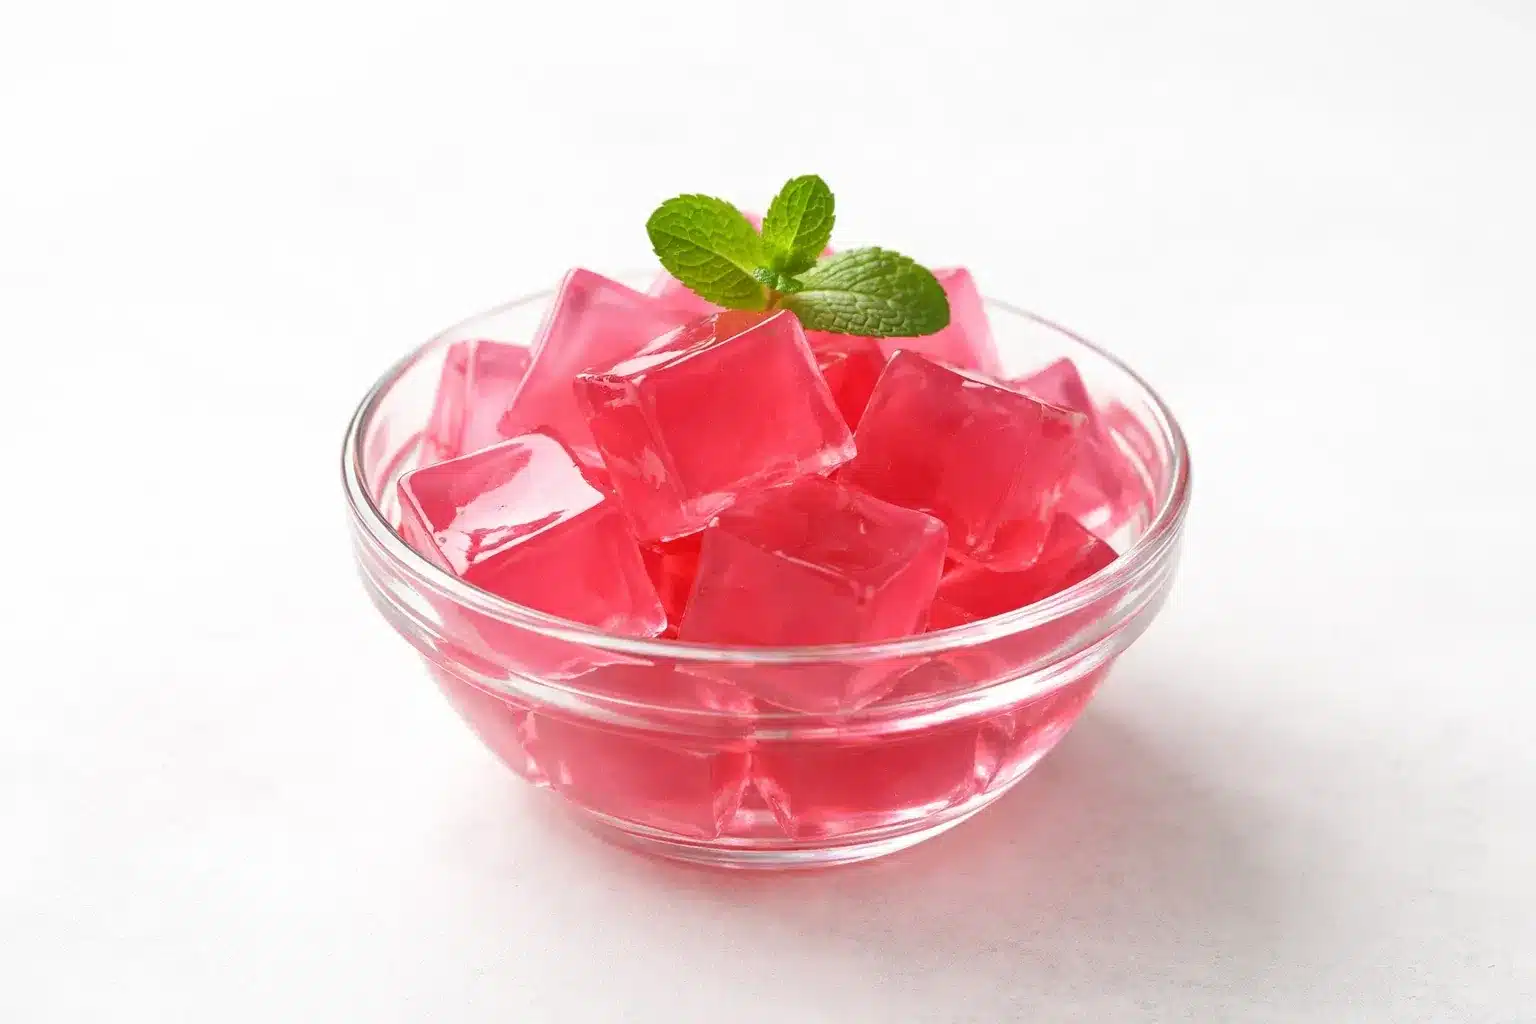
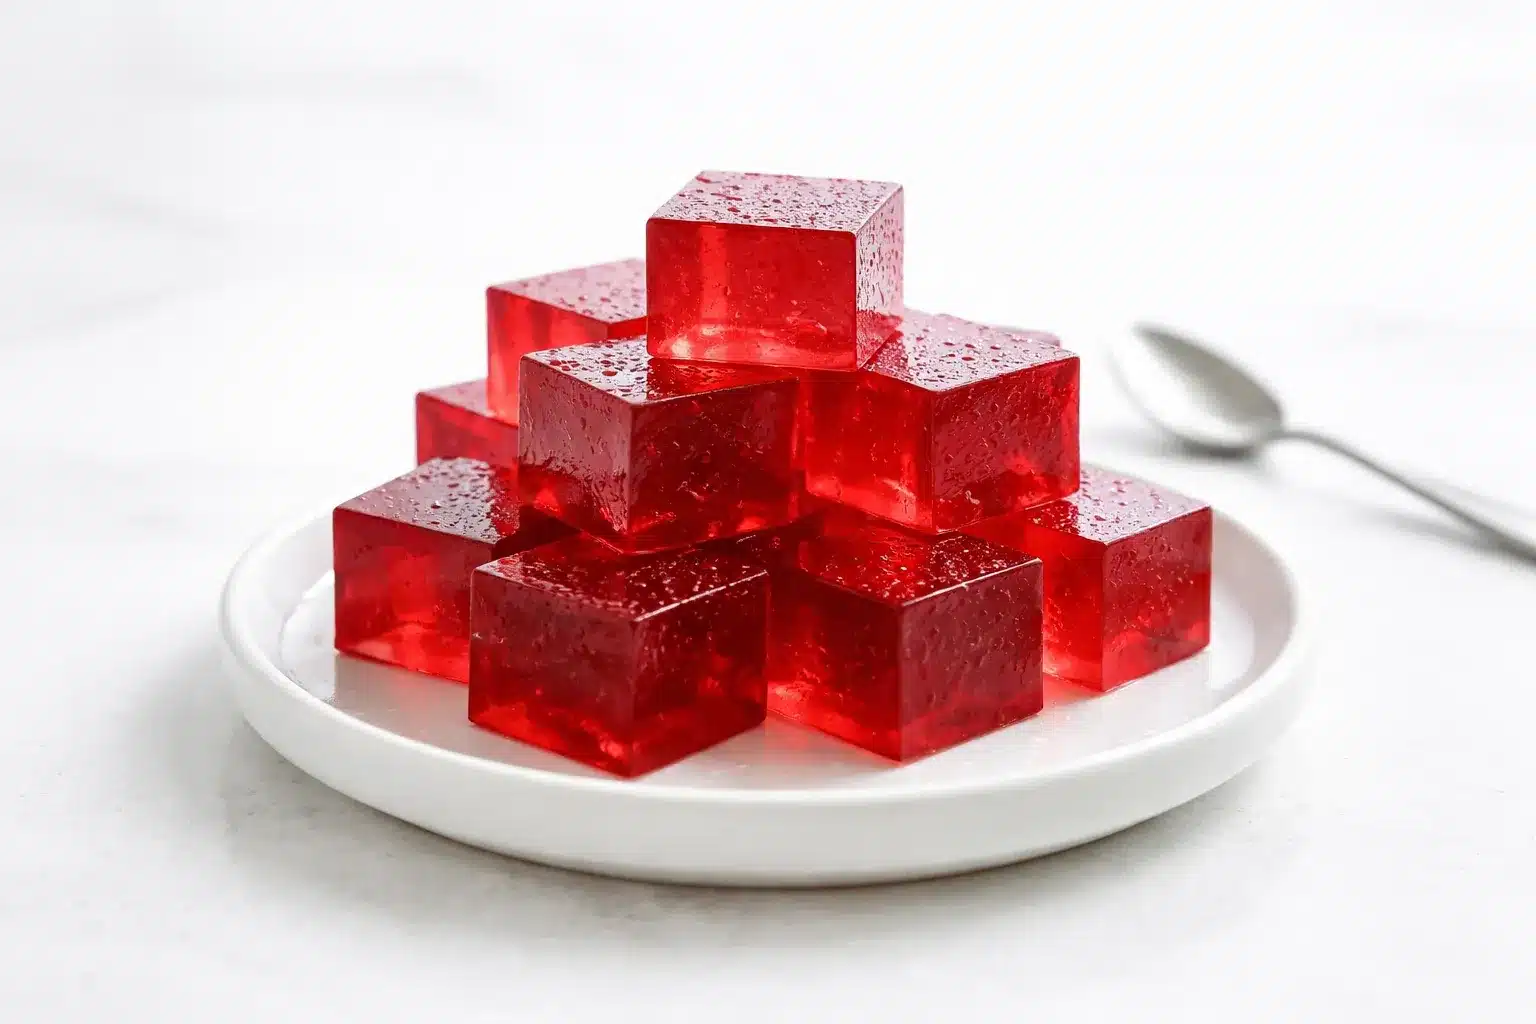
The assorted hard candies create the stained-glass effect. Separate them by color to ensure clean, vibrant centers. Finally, have powdered sugar on hand for dusting, and ribbon or string if you want to hang the cookies as ornaments.
How to Make Stained Glass Cookies
Step 1 – Prepare the Dough
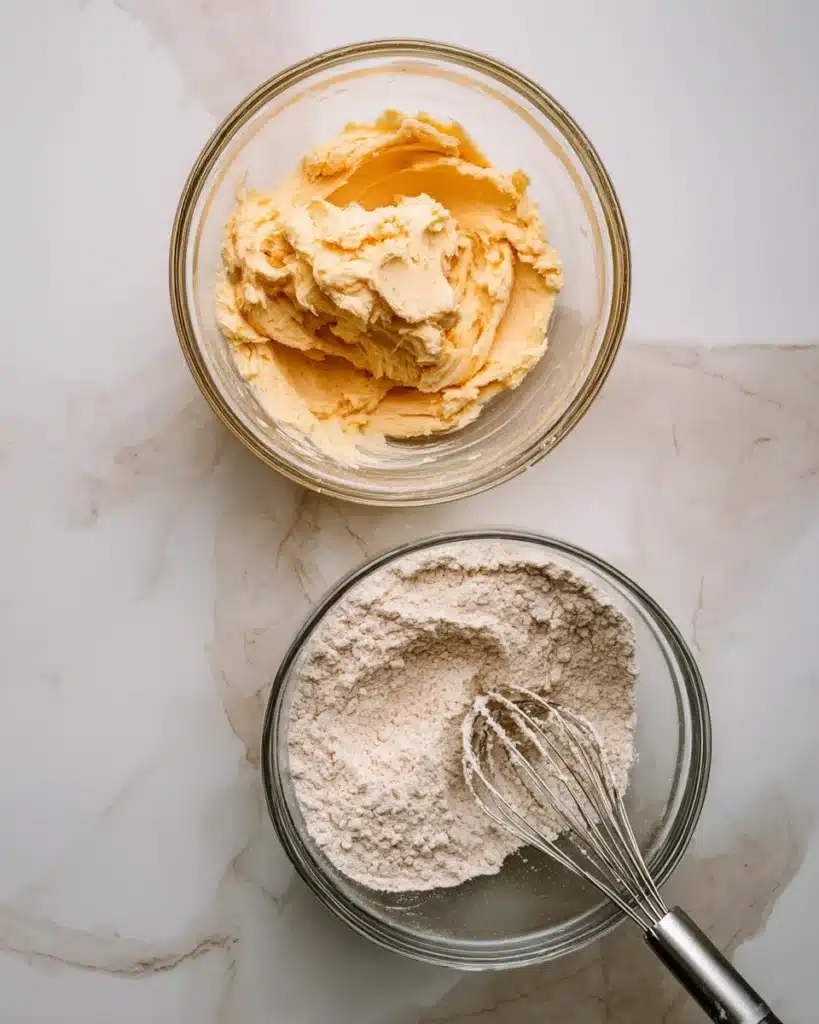
Whisk flour, baking powder, and salt in one bowl. In another, cream butter and sugar until fluffy and pale. Beat in the egg and your chosen extract.
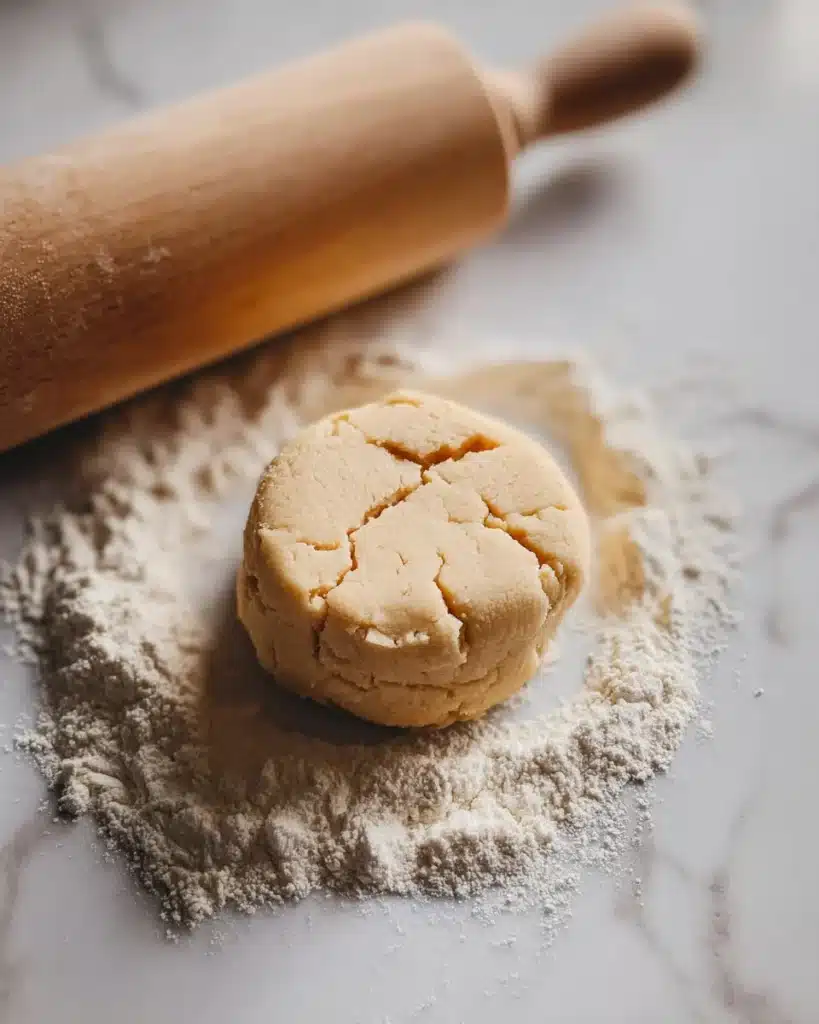
Then, gradually add the dry ingredients. Mix until just combined to avoid overworking the dough. Shape it into a disk, wrap it tightly, and chill for at least an hour. Chilling keeps the dough firm and prevents spreading, which helps the cookies hold their shape.
Step 2 – Crush and Sort the Candies
Place each candy color in separate bags, then crush them gently with a rolling pin. Aim for small, even pieces—too fine and they might burn; too large and they won’t melt smoothly. Sorting by color makes the cookies look cleaner and more professional, with clearly defined “glass” centers.
Step 3 – Roll, Cut, and Fill

Once chilled, roll the dough out on a lightly floured surface to about ¼ inch thick. Cut out your large shapes, then remove smaller centers using a smaller cutter. Place cookies on parchment-lined trays. Fill each cutout center with crushed candy, just to the edges but not overflowing. This keeps the candy contained as it melts.
Step 4 – Bake and Cool

Bake in a preheated 350°F (175°C) oven for 8–10 minutes. Watch closely—edges should turn lightly golden while candy centers bubble and smooth out. Let cookies cool on the tray for at least 5–10 minutes until the candy hardens. Then move them gently to a wire rack. This step prevents breakage and ensures the candy centers set perfectly clear.
Step 5 – Decorate and Display
For extra sparkle, dust edges with powdered sugar after cooling. If you plan to hang them, poke a small hole near the top while they’re still soft. Thread a ribbon through once they’ve fully cooled. They’ll look beautiful on your Christmas tree or wrapped in clear bags for gifting.
Expert Tips for Perfect Results
Always chill your dough—it’s the secret to sharp cookie edges. Working with small batches ensures the dough stays cold and prevents spreading.
Avoid overmixing the dough, as this can lead to tough cookies. When filling the candy centers, less is more—overfilled centers may spill over during baking.
Bake one tray at a time for even heat distribution. Allow the melted candy to harden before moving the cookies to avoid cracking the centers.
Flavor and Color Variations
You can switch up the flavor with peppermint extract for a cool holiday twist or lemon extract for a bright touch.
Try mixing red and green candies for a Christmas vibe or pastels for springtime. You can also use clear candies for a more elegant stained-glass effect that shines under the lights.
For a fun theme, use heart-shaped cutters for Valentine’s Day or stars for birthdays. These cookies adapt beautifully to any celebration.
Storage and Freezing Instructions
Store cookies in an airtight container at room temperature for up to a week. Be sure to separate layers with parchment paper to prevent sticking.
To freeze cookies, lay them out in a single layer first. Once frozen, stack them with parchment in a freezer-safe container. They’ll stay fresh for up to three months.
When ready to enjoy, thaw them in the container to prevent condensation on the candy centers. This method helps preserve their color and clarity.
Troubleshooting Common Issues
If your candy spreads too much, try adding less in each center. Candy that burns? Lower the baking time slightly or use lighter-colored candies. If your cookies lose shape, chill the dough longer. For cracked centers, wait longer before moving them off the tray. Should the candy appear cloudy, it likely absorbed moisture—store in airtight containers to prevent that. Remember, small tweaks make a big difference in getting perfect stained glass cookies every time.
Related Recipes to Try
- Festive Christmas cookie ideas
- Buttery shortbread cookies
- Classic gingerbread cookies
- Sugar cookies for the holidays
- Red velvet holiday cookies
- Wonderland chocolate chip cookies
Frequently Asked Questions
Can you freeze stained glass cookies?
Yes! Freeze in a single layer, then stack with parchment between layers. Thaw inside the container to prevent condensation on the candy.
What are some fun facts about stained glass?
Real stained glass dates back centuries, often seen in cathedrals. These cookies mimic that colorful, light-catching look in edible form.
Will cookies stay fresh in a glass jar?
Yes, if it’s airtight. Otherwise, humidity may cloud the candy centers or make cookies soft.
How long does stained glass last?
When stored properly, cookies stay fresh up to a week. Frozen ones keep up to three months without losing their sparkle.
Conclusion
Making stained glass cookies is such a joyful way to celebrate the holidays. Their shimmering centers and buttery edges bring magic to any dessert table. Whether you bake them with kids or gift them to neighbors, they’ll always spread cheer. For more inspiration, check out my Pinterest board for creative decorating ideas and festive cookie projects.
Print
Stained Glass Cookies Recipe – A Festive and Fun Holiday Treat
- Total Time: 1 hour 20 minutes
- Yield: Varies based on cookie size
- Diet: Vegetarian
Description
Festive stained glass cookies with colorful candy centers and buttery dough. Perfect for Christmas baking, gifting, or decorating your tree.
Ingredients
2 ¾ cups all-purpose flour
1 teaspoon baking powder
¼ teaspoon salt
1 cup unsalted butter, softened
1 cup granulated sugar
1 large egg
1 teaspoon vanilla extract or ½ teaspoon almond extract (optional)
Assorted hard candies (e.g. Jolly Ranchers, Life Savers), separated by color and crushed
Powdered sugar (for optional dusting)
Ribbon or string (optional, for hanging)
Instructions
1. Whisk flour, baking powder, and salt in a bowl.
2. In a separate bowl, cream butter and sugar until fluffy.
3. Beat in the egg and extract.
4. Gradually add dry ingredients until just combined.
5. Shape dough into a disk, wrap in plastic, and refrigerate for at least 1 hour.
6. Crush candies by color into small, even pieces.
7. Preheat oven to 350°F (175°C). Line baking sheets with parchment.
8. Roll dough to ¼ inch thickness on a floured surface.
9. Cut out large shapes, then remove smaller centers.
10. Fill centers with crushed candy, without overfilling.
11. Bake 8–10 minutes until edges are golden and candy is melted.
12. Cool on baking sheet for 10 minutes before transferring.
13. Dust edges with powdered sugar if desired.
14. If making ornaments, poke holes while cookies are warm and thread ribbon once cooled.
Notes
Chill dough well to keep cookies from spreading.
Avoid overmixing to maintain tenderness.
Don’t crush candy too fine or it may burn; large chunks won’t melt evenly.
Poke hanging holes while cookies are still soft.
Store cookies in a single layer or between parchment.
Freeze up to 3 months in freezer-safe containers.
- Prep Time: 1 hour
- Cook Time: 10 minutes
- Category: Christmas Dinner Recipes
- Method: Baking
- Cuisine: American
Nutrition
- Serving Size: 1 cookie
- Calories: 160
- Sugar: 14g
- Sodium: 45mg
- Fat: 7g
- Saturated Fat: 4g
- Unsaturated Fat: 2g
- Trans Fat: 0g
- Carbohydrates: 21g
- Fiber: 0.5g
- Protein: 2g
- Cholesterol: 25mg